 |
||||||||||||
|
|
||||||||||||
|
Click here for complete Site Map
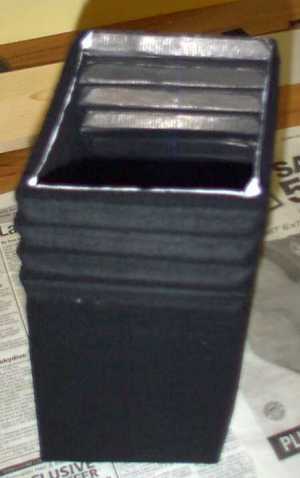
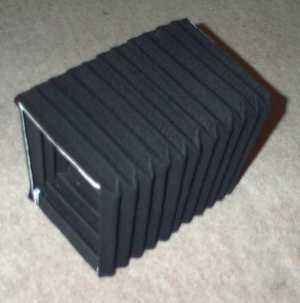
Once in a tube - the bellows can now have it pleats folded in it. This is a bit fiddly to get going - but once started is easy.
In general the bellows have been a success. The felt/paper sandwich isn't 100% light tight. I also had a few problem with light leaking around the areas where the bellows joined the end mounts and the end mounts were attached to the standards. However these were relatively easily patched up - and the camera seems to work fine in practice. Other than the points already noted - its worth saying a little more about the size of the bellows. I worried a lot about the width and height (and still ran into problems as the front panel locking bolts nearly got in the way). However I made the bellows length to suit the copper pipe which was (for no good reason) 12". I then found that the bellows was really too long to focus my 5" lens at infinity and too short to allow 1to1 macro work for close ups. If I was making another bellows (and I expect I will ;-) then I'd think a little more about what sort of subjects I was trying to shoot. For landscape I'll pick a slightly shorter length so that I could focus at infinity. For closeup work I'd fit a longer bellows to allow 1to1 macro work. Another point to note on the infinity setting is that the 5" lens is quite wide angled so I found the front mount of the focus rail kept getting into the picture. Mounting the whole bellows/lens/film higher above the focus rail will probably help - though thats too much of a redesign to do with this camera. Got a question or can't find the info you are looking for? Click HERE to contact us. Click here for complete Site Map |
|
All text and images Copyright © 2000-2011 Roland Givan, unless otherwise stated. All Rights Reserved. |
|
[Home Page] [Homemade 4x5" Pictures] [Making the Bellows (1)] [Making the Bellows (2)] [Old Lenses/Shutters] [Frame Construction] |


