 |
||||||||||
|
|
||||||||||
|
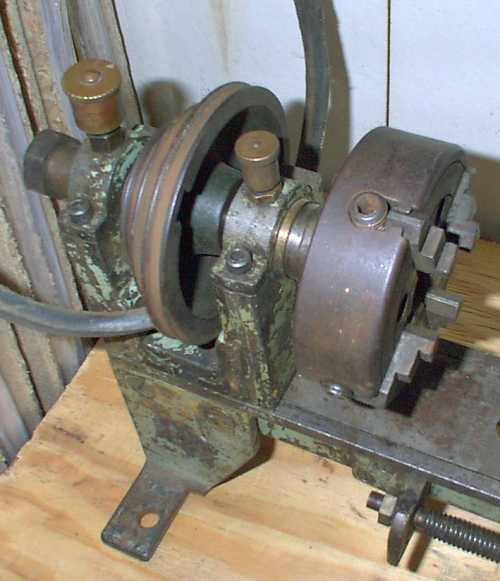
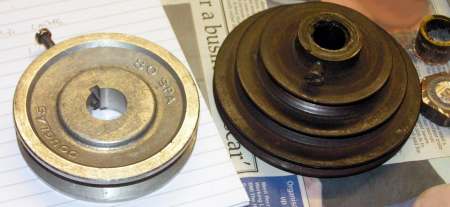
The headstock is very simple but I was never very impressed with the 3 step cone pulley. From the minute I set eyes on it - it looked wonky and unfortunately the lathe did vibrate annoyingly when running. Another curious fact was that there wasn’t enough room for the largest pulley to be actually used. The belt would not clear the gap underneath it. This is just one of the many indications this lathe has been ‘thrown’ together from a variety of available components.
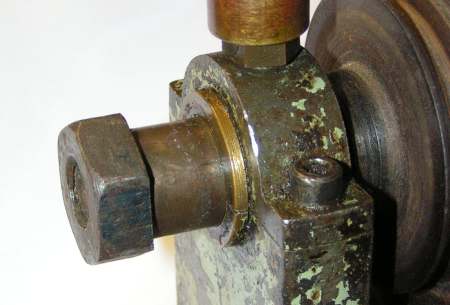
I managed to remove the chuck and backplate quite easily but the spindle wouldn’t push through from the front. It was clear I had to remove the back nut and the brass spacing ring between the nut and the rear bearing.
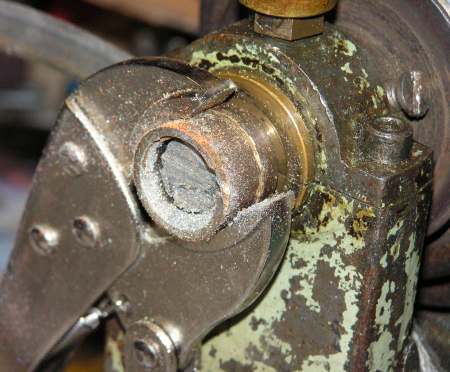
Not being able to get the nut to unscrew I resorted to clamping both the end nut and the spacing ring with an adjustable spanners/wrenches and hacksawing the spindle through with an HSS blade.
With the nut and the spacer ring removed the spindle was easily knocked out with a mallet.
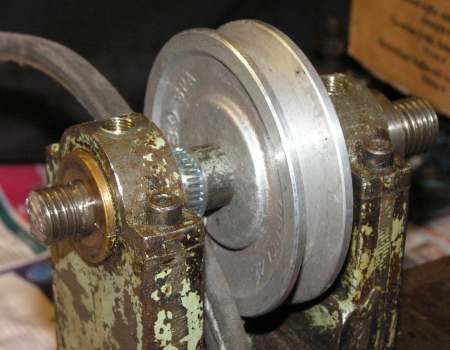
I happened to have a couple of nice aluminum single pulleys with a central hole very close in size (about .5mm) to the original pulley. Fortunately the original pulley didn’t fit tightly but instead relied on a sleeve insert which I reused. I also had to cut down an M5 machine screw to turn into a set screw for the new pulley.
After a little adjustment of the set screw and the addition of a hose clip or two the new pulley worked fairly well. Its a bit limited with only 1 speed so to use it I’ll need to build a counter shaft at some point although for the moment 1 speed in the 500-1000 RPM range will probably do.
After going to the trouble of fitting this new pulley it however showed up just how much of the vibration problem was down to the original V belt. This I will replace with the same type of 1/4” plastic belting I’m using on the Wizard lathe. Having given myself plenty of time to think about it - I will try the original pulley again as the vibration problem may have been the V belt and not the original pulley. If so it will give me a couple of speeds and I can avoid having to build a proper countershaft arrangement for the moment.
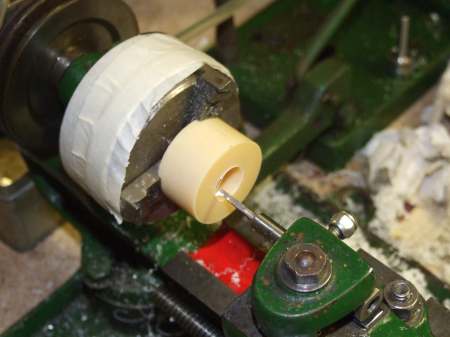
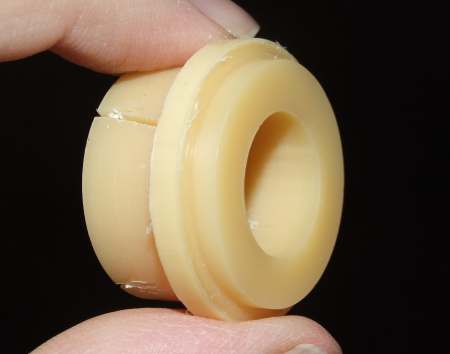
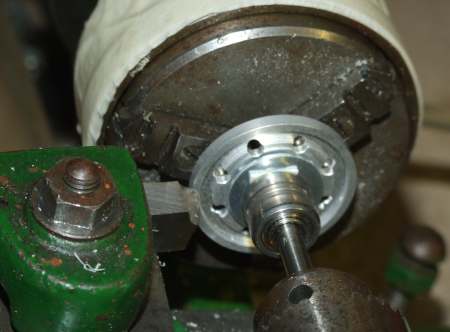
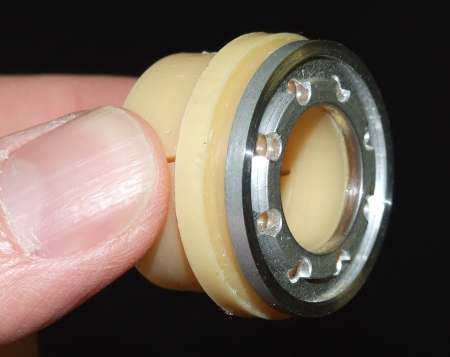
The front was turned down to match an aluminium ring that was already just about the right size and the back turned down and slit to take a hose clip.
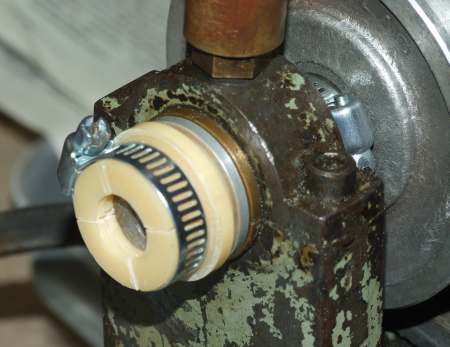
The final result. A quick test shows the whole assembly hangs together fine.
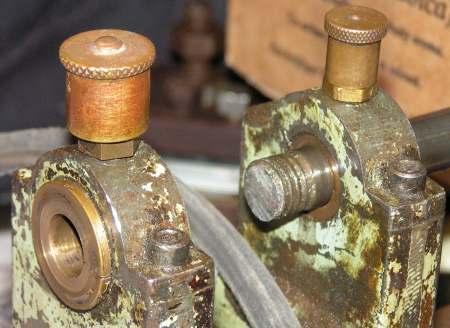
This should have been the end of this page - but careful checking shows the front of the spindle catches very slightly on the split bearing. This will definitely cause vibration - so I’m going to insert a precise brass ring between the two which hopefully will make it run just that little bit smoother.
|
|
All text and images Copyright © 2000-2011 Roland Givan, unless otherwise stated. All Rights Reserved. Game artwork copyright their respective publishers. |
|
[Home Page] [Headstock] [Saddle] [Cross slide] |
