 |
||||||||
|
|
||||||||
|
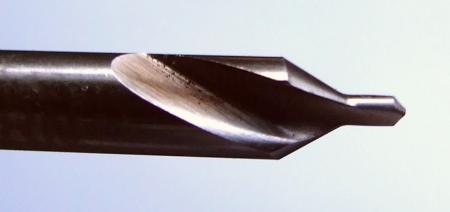
Most of the stuff I do with lathes is just for fun - or something related to another project in some way. Occasionally though there is an opportunity to do something actually useful. In this case - Caroline had discovered a leak under the kitchen sink and closer examination of the plug hole showed the screw through the plug hole strainer - clamping the whole arrangement together had failed. The head was broken off and lost. I had to dismantle the wastepipe underneath (which introduced another leak) to get the remains of the screw out. On first examination the screw appeared to be a brass 3/16” BSW. I had some of this size in my shed - but only in steel which would obviously rust. Anyway - thats what I used initially but set to work to make a new brass one. I had a suitable length of brass and decided that turning it between centres was the best bet. Turning between centres is an ancient technique which involves rotating the work between 2 points or centres. In a metal working lathe the centres fit into the tapers on the head and tail stocks. The one at the headstock revolves with the work and is usually unhardened. The tailstock one traditionally stays still and is hardened so the revolving work does not damage it. Even so its important to lubricate the tailstock centre’s point with grease. In order to use the centres the work must be accurately drilled at both ends by a centre drill. The aim is to get the hole as central as possible in each end. This much enlarged picture of the end of a centre drill shows the very fine point which starts the hole going. The very short parallel section after the point makes a clearance hole into which the point of the lathe centre rests. This ensures the point does not rub against the bottom of the hole and burn out. The short tapered section makes the cone to actually support the sides of the lathe centre. Its important not to drill past the tapered section as otherwise the lathe centre will end up touching the edges of the hole and not resting in the cone part.
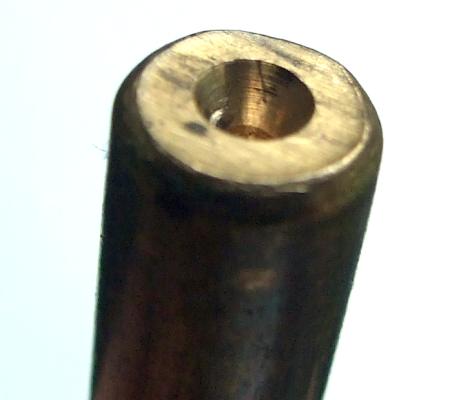
In the picture below you can see the hole made by the centre drill isn’t completely central. I’m still experimenting with methods for accurately centring small diameter material. As the material needed to be turned down to the correct diameter the slight offset in hole’s location wasn’t a big deal - but the less accurate the holes - the more the work will wobble on rotation and the more material will need to be removed to true it up.
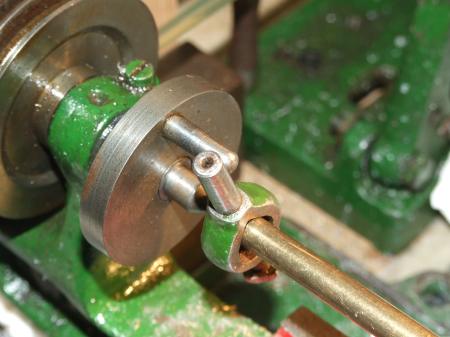
Picture below shows the brass mounted for work. I used some masking tape to attach the driving pin to the lathe ‘dog’ which made it more obvious whilst turning.
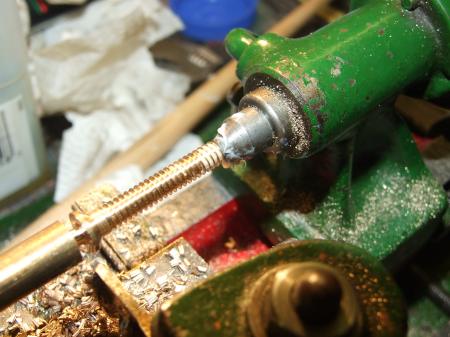
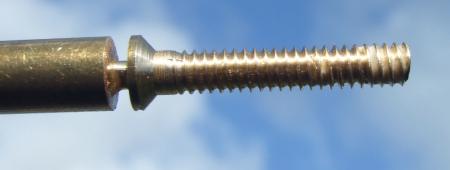
I forgot to take photos of the next stages - but essentially I turned down a section of the bar to 3/16” and then removed it from the lathe and cut the thread on it using a button die. I hunted high and low for a 3/16” BSW die to no avail - but did find a #10 UNC which was essentially the same. In fact after carefully examining the original screw I decided that it had been #10 UNC all along - as indeed was the steel one I had temporally used to fix the sink. In the photo bellow I’ve just started parting off. The centre in the tailstock is a dead centre (ie doesn’t rotate) and so I’ve used some grease for lubrication. You can also see the countersunk head on the screw. This was needed - but made sort of by accident. I found as I turned the bar down from around the 9mm to the 4.76mm (3/16”) I needed - the lathe tool travelled fractionally less on each pass before butting up the the shoulder of the previous pass. Must be something to do with the clearance on the tool - but fortunate anyway.
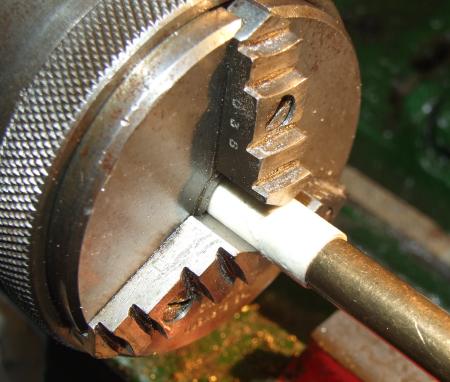
Parting off between centres is really not a good idea - so for this operation I drove the rod by the 3 jaw chuck. This way the whole lot would not go flying once I broke through.
In the end I decided not to part completely and finish off with a hacksaw.
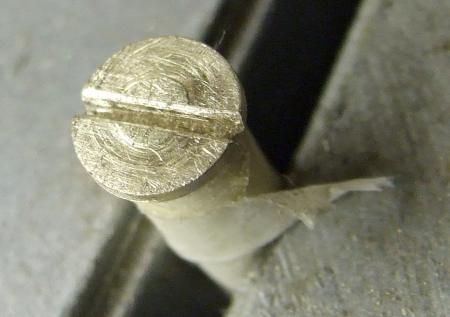
An old trick I read about about was using the ‘pip’ left over from the hacksaw cut to help guide the cutting of the screw slot. The slot was made with a hacksaw and opened out with needle files. I found a junior hacksaw blade a bit thin and if I was doing it again would opt for a fine toothed normal hacksaw blade.
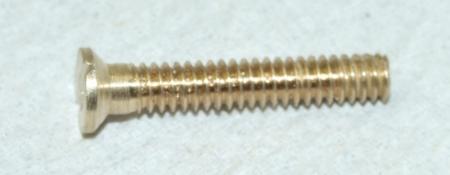
The finished screw. I didn’t cut the thread all the way to the head to give extra strength. The head itself is thicker than normal for the same reason.
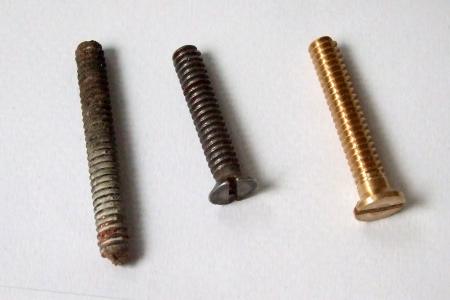
Just for comparison the next picture shows the remains of the old screw on the left. The temporary steel one in the middle and the new one of the right.
Now fitted and doing good service, this is the type of job a small lathe like the Wizard can easily handle and back in the 1950s when the lathe was new, making up replacement screws would have been a much more common activity than it is now. |
|
All text and images Copyright © 2000-2011 Roland Givan, unless otherwise stated. All Rights Reserved. Game artwork copyright their respective publishers. |
|
[Home Page] [Screw for the Sink!] |
