 |
||||||||||||||
|
|
||||||||||||||
|
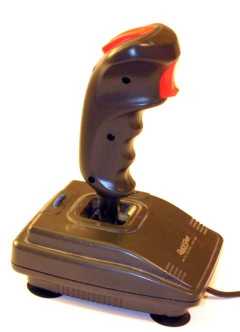
This interface came via a bit of luck rather than hard work. One of the apparently simple ways to connect a PC gameport joystick to a Playstation pad was via direct replacement. See Interfacing ideas for my current list of ideas. The obvious problem is that the PC gameport joystick uses 100K pots as variable resistors and the Playstation pad uses 10k pots as voltage dividers. In reality this isn’t a problem as its easy enough to wire up the 3rd pin on the PC gameport joystick pot to give a voltage dividing effect. However the real problem is that most PC gameport joysticks don’t actually use 100K pots. Instead they use 470K ones. This is because the stick would have to move too far to make a 100K pot rotate from end to end - but a relatively small (and sensible movement) of about 70 degrees will move a 470k pot from 0 to 100K. Whilst of course its possible to wire up the 3rd pin on the PC gameport joystick pot to give a voltage dividing effect - the stick would not centre properly as the pot would not divide the voltage equally when the stick was in the centre position. However it did occur to me that I did have a stick with suitable pots. My trusty old Quickshot.
This in fact uses 150K sliding pots - but they could be rewired to work as proper voltage dividers.(I’ve now also found a virtually identical joystick under the name TECNOPLUS HAWK+ which looks like it can also be rewired in the same way.)
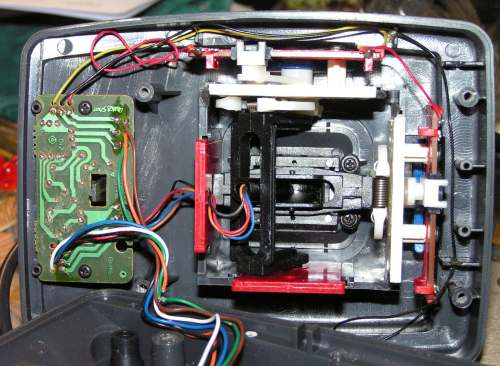
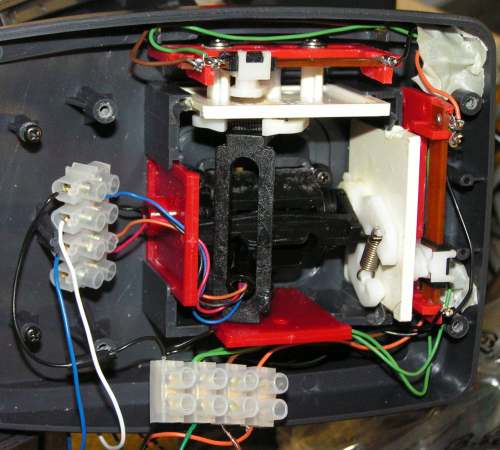
The above picture shows the original wiring. The circuit board on the left is for the autofire feature which I removed. I also completely rewired the pots as just connecting up the ground wire to the 3rd pin gave me a joystick with inverted axis.
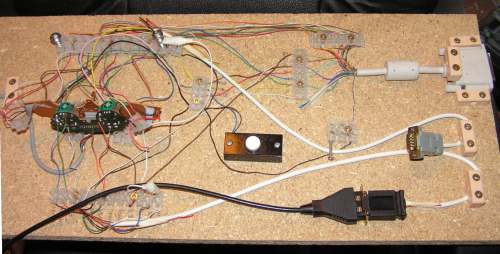
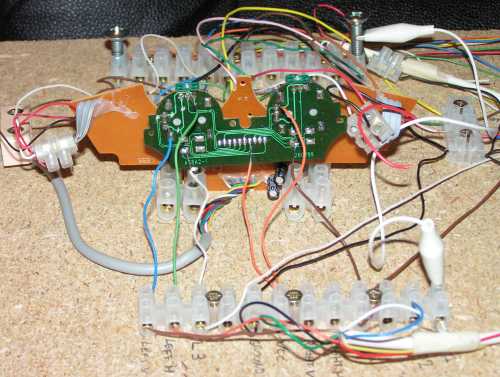
For the rest of the interface I used my existing second Atari interface board. This had always been designed with a PC gameport connection in mind - so the changes were relatively minor.
All the existing features have been retained - but I added the door bell type switch so that I could easily turn the analogue setting on and off. Previously this was wired to a central button on my Button Box - but as I also took the opportunity to wire up buttons L3 and R3 (the thumbstick click buttons) - I no longer had any spare buttons on the Button Box.
I only wired up the left thumbstick though I didn’t bother to unsolder it. I just used a diamond engraving tip on my dremel to isolate the 2 end pins of each pot. I then used the central pin of each as a easy tap off point to connect the joystick pots to.
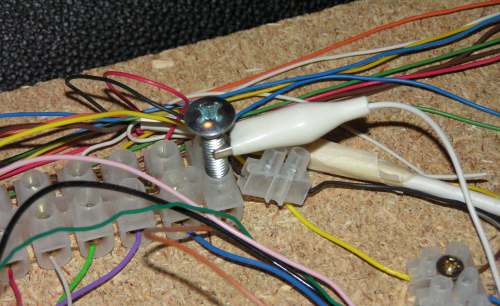
Not all games use the same buttons - even for basic stuff like ‘fire’. I meant to use some rotary switches to allow the correct buttons to be mapped onto the Joystick ones. However for the moment I’ve just used patch cables which neatly make correct contact with the help of some spare machine screws pushed into the top of the ‘chocolate block’ connector. In conclusion - this is a neat hack that works quite well. However it does require obtaining the right type of joystick and rewiring it. Therefore I still think its worth trying to find a better solution - not least so a better quality stick can be used (frankly the Quickshot is probably the worst PC gameport stick I own!).
|
|
All text and images Copyright © 2000-2011 Roland Givan, unless otherwise stated. All Rights Reserved. Game artwork copyright their respective publishers. |
|
[Home Page] [Playstation to PC] [Controller Internals] [Atari 9 Pin Interface] [2nd Atari 9 Pin Interface] [Button Box] [Basic PS Flight stick] [Interfacing ideas] |
